Check out this Stampin Up! Paper Pumpkin alternative handmade card using supplies from three Paper Pumpkin kits.
Board and Brush Masterpiece
I highly recommend Board and Brush of Cape Girardeau DIY wood sign studio. What a fun night creating this gift for my sister.
Simple Sending Hugs Card: Avery Elle Sentimental Die
SU! September Paper Pumpkin Alternatives
CHALLENGE: Paper Smooches Guest Designer Search (Sentiment Sampler)
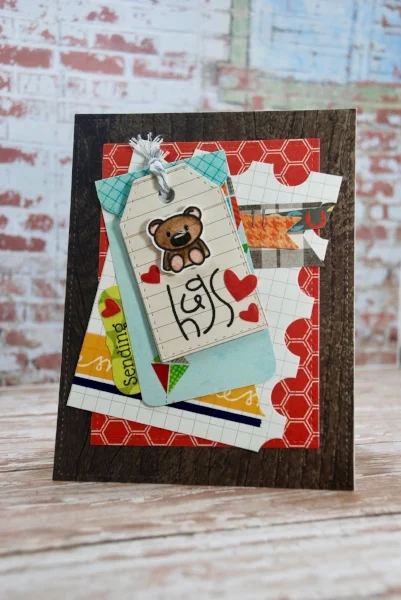
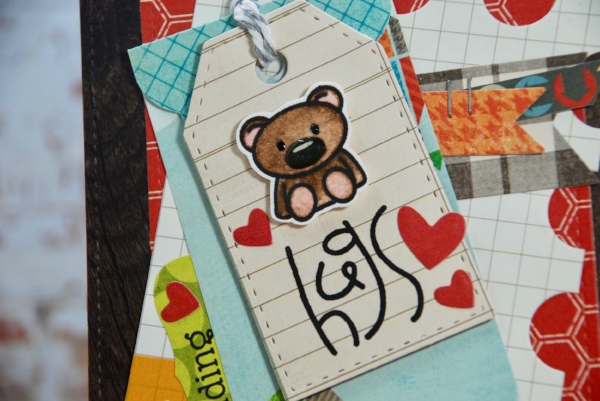
Yes, there's a whole lotta pattern goin on but I kinda like it! This submission for the Paper Smooches Guest Designer Search uses the Sentiment Sampler which has a ton of basic sentiments but with a fun flare. I paired it with Simon Says Stamp's Circle Friends stamp set to create a Sending Bear Hugs card.
I heat embossed the bear from the Circle Friends image on watercolor stock and colored him with Distress Markers and a water brush. I finished him with some glossy accents on his nose and black enamel dots on his eyes. I used the Paper Smooches Gift Tag 3 die to create the bear's tag from a scrap of planner patterned paper. The We R Memory Keepers tag punch created a tag from the My Mind's Eye Adventure paper pad. I love how it uses two-sided stock to create the top detail. I rounded the two bottom corners with a Corner Chomper.
I used Lawn Fawn stitched border dies to create a 4x6 panel from the wood grain patterned stock and the red hexagon piece. Another planner page scrap is directly behind the tag feature. I added a little washi tape, the "Sending" tab, and various banners from the same paper pad for more color and interest. One of my all-time favorite products is the Tim Holtz Tiny Attacher which always adds that extra little detail.
Thanks so much for checking out my project!
CHALLENGE: Paper Smooches Guest Designer Search (Uplifters)
CHALLENGE: Paper Smooches Guest Designer Search (Free -Poisonous- Spirits)
I used the Paper Smooches Free Spirits stamp set once again for this Guest Designer Search submission. Instead of using the bottles as wine or liquor bottles, I used them as potion bottles for a Halloween-themed card. I masked off where a label would be when I stamped them in Versafine Onyx Black ink, then put clear embossing powder on top. I used a black marker to draw in the space next to the label, then went over the area with a Versamark pen and heat set clear embossing powder.
The actual "labels" are not heat embossed so I could ink them with a blender sponge in the coordinating Distress Ink. I then used a magic marker to decorate the labels. The coordinating die set does not include these three images so I fussy cut them out. I also heat embossed and cut a set to make the backs of the bottles since they would be seen when the card is open.
The images are suspended in the punched hole with clear thread.
For the card base, I used watercolor paper and Distress Ink to do an "ink smooshing" technique (yes, I think that is a technical industry term!). I "smooshed" Seedless Preserves, Spiced Marmalade, and Crushed Olive onto a craft mat, spritzed it with water, then "smooshed" the edge of my paper onto the pooled ink on the craft mat. This gave me that nice, vibrant, varied color. I would let it dry, then repeat the process until I achieved the rich color I desired.
I layered (without adhering) the watercolor stock and black card base to use a 1.5" punch to create evenly-spaced circles that would match up. I added clear thread between the watercolor piece and black card base before adhering them together. I then sandwiched the thread between the coordinating front and back of the bottles.
I dusted off my Cricket to cut out the "trick or treat" sentiment using the Happy Hauntings Cricut cartridge. A few sequins and string finish it off! Thanks so much for stopping by and viewing my project!
CHALLENGE: Paper Smooches Guest Designer Search (a tini note!)
For this Paper Smooches Guest Designer Search submission I paired the Free Spirits stamp set with the Waffle Flower Mini Trifold Notes die. The Waffle Flower die folds out to three panels for a mini note. I couldn't resist using the "a tini note" sentiment from the Paper Smooches stamp set. So cute!!
I'm hoping my local girlfriends that subscribe to my blog take me up on this "tini note"!!
I used the martini glass from the stamp set to gold emboss the background. I thought the stars from this 6x6 Just Be You pattered paper from Echo Park tied in with the "Girls night out" sentiment which is also from the stamp set. I used a small swatch of solid green from the paper pad to make the tiny envelope stand out from the background.
I used the tiny star from the Paper Smooches Gift Tag 3 die set from the same solid green paper to create the star closure keeping the mini note closed. Then the note expands out to show the three panels. I coated the green star and background with a little Wink of Stella. Every girls night out needs a little shimmer, am I right?!?
I made this a 4.25" square folding card but I think I would prefer it as just a panel card. I would move the date under Friday and use an alphabet stamp set to add a location and time. Maybe I'll just text my girlfriends the details for this week though!! Thanks for visiting!
CHALLENGE: Paper Smooches Guest Designer Search (Free Spirits)
CHALLENGE: Papertrey Ink Make It Monday #296
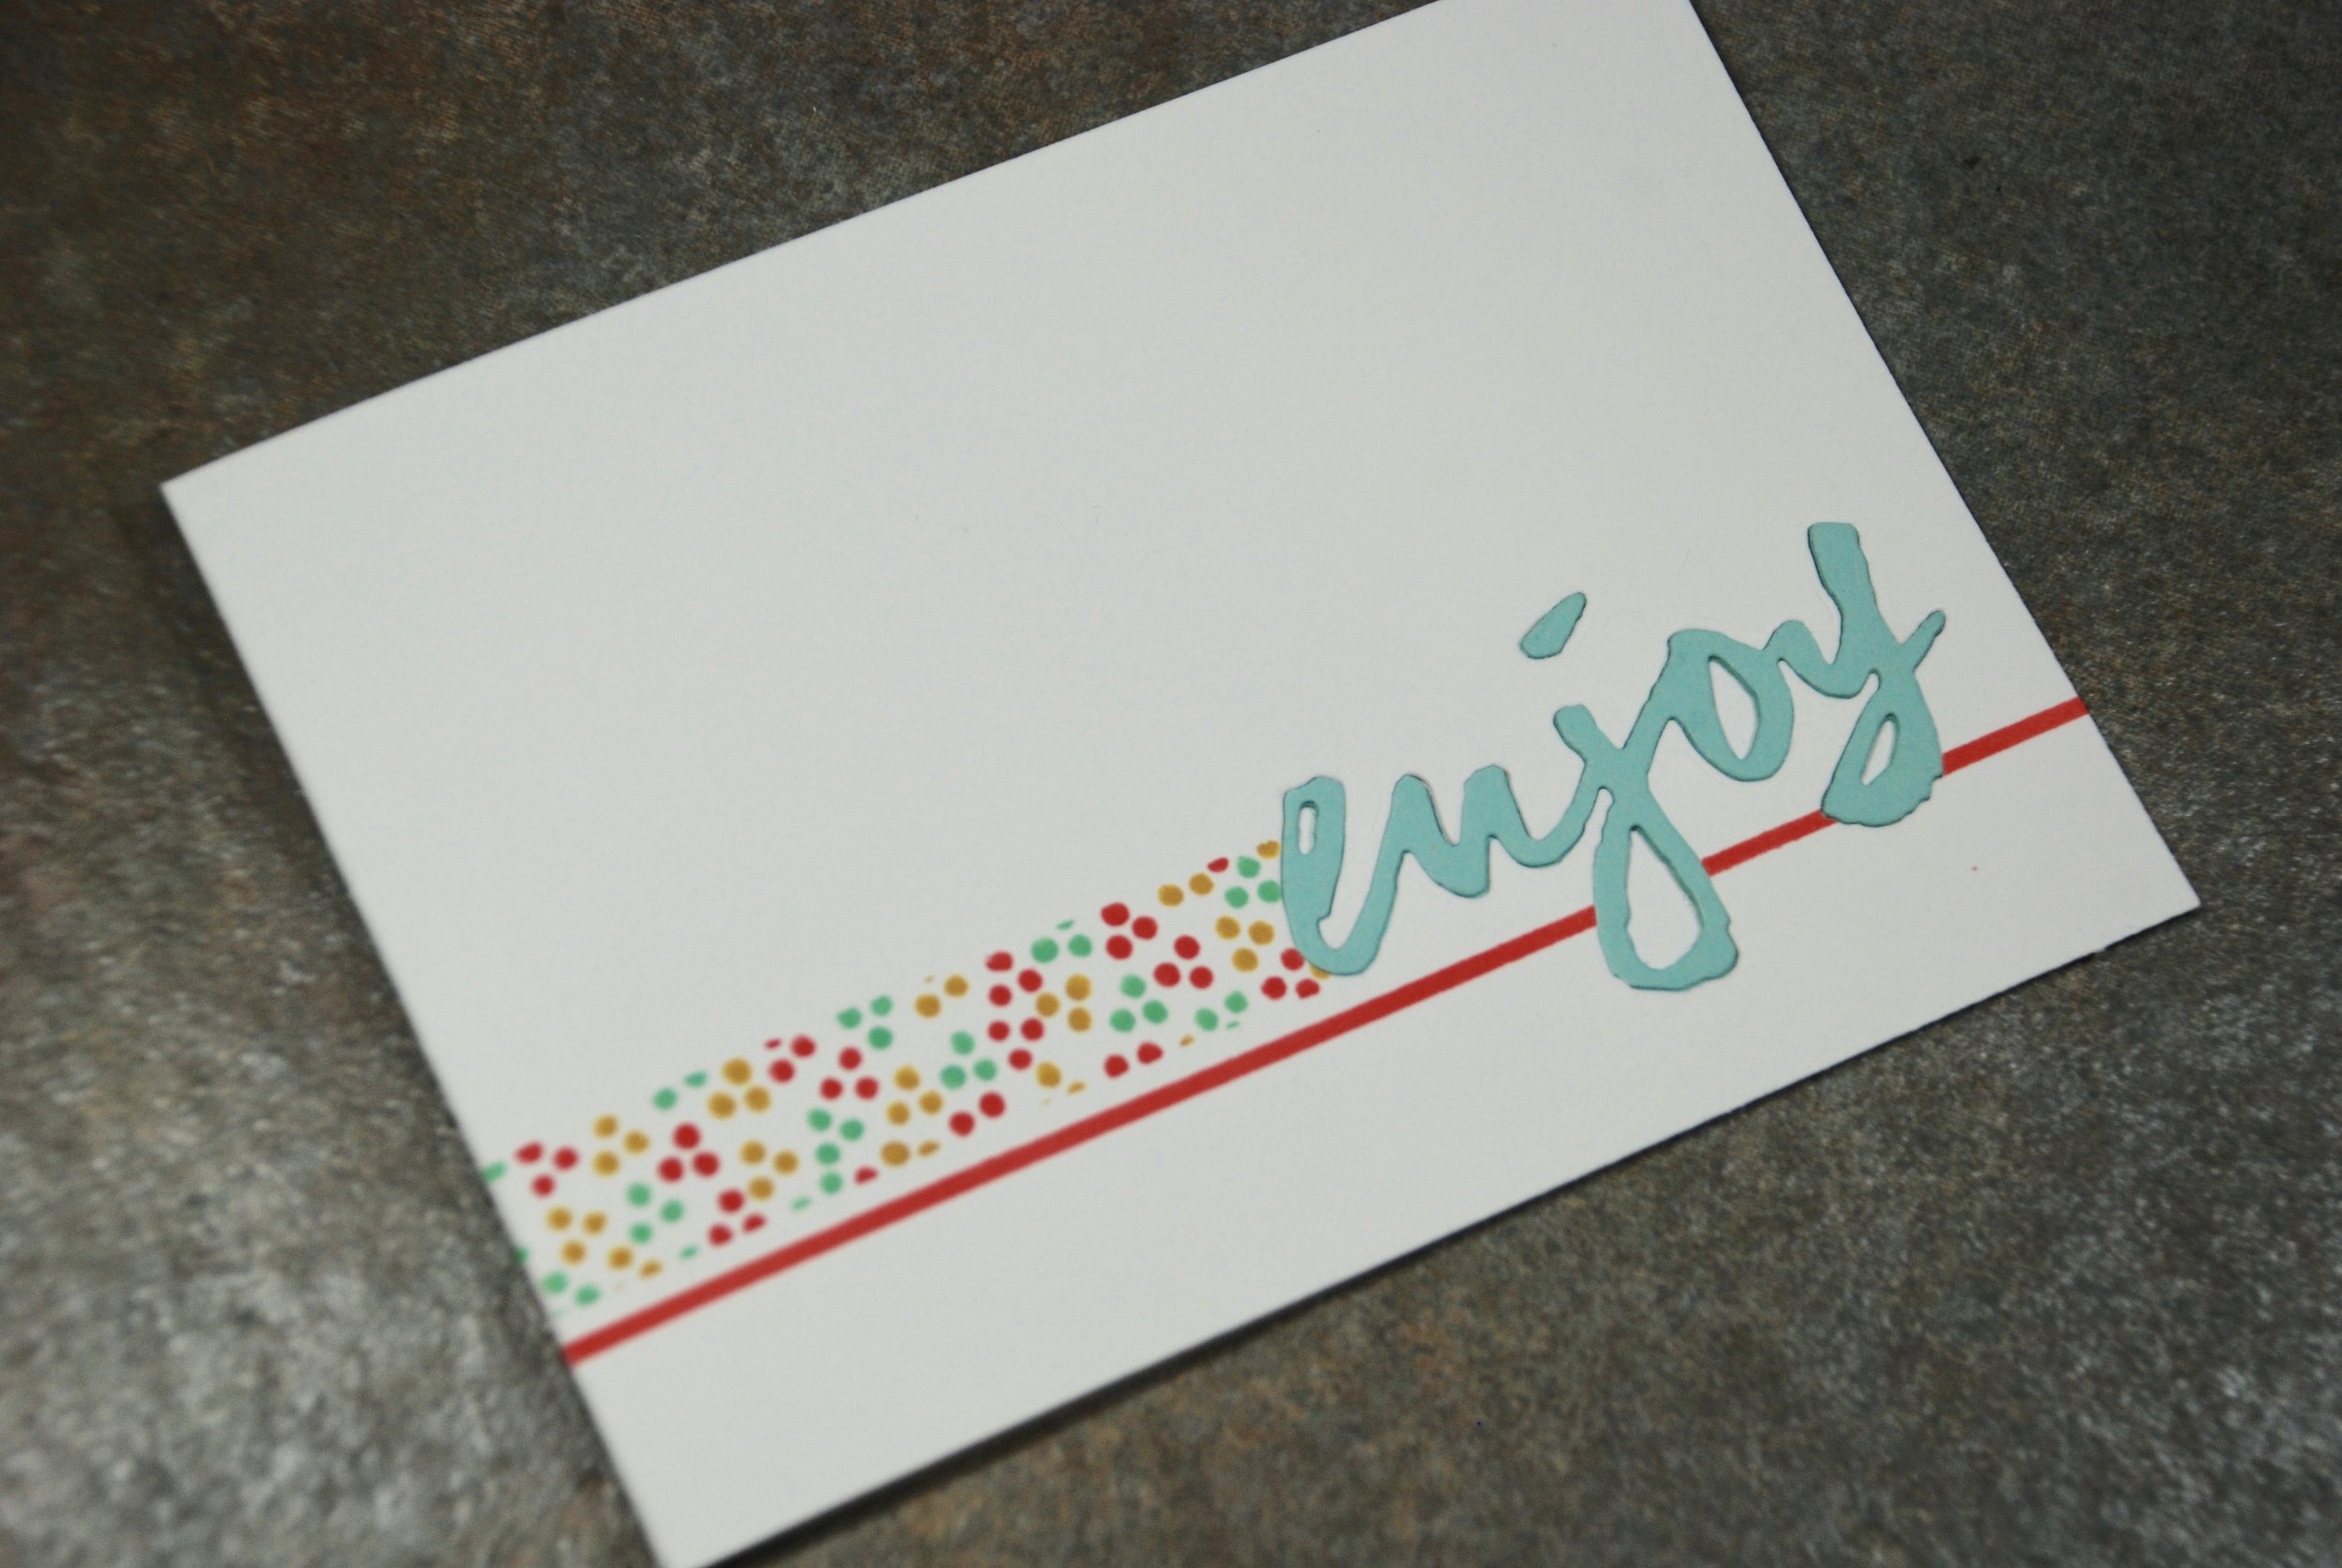
This card is for the Papertrey Ink Make It Monday #296 Small Images on Repeat. I decided to create my own "washi tape" by using one of the teeny tiny images in the Life is Beautiful stamp set. I used the three dots in three Distress Oxide ink colors, Cracked Pistachio, Abandoned Coral, and Fossilized Amber.
Papertrey Ink Life Is Beautiful stamp set. (coordinating dies also available!)
I first die-cut the "enjoy" from this Wet Paint die set by Papertrey Ink. I then masked off an area with post-it tape and stamped the image in the three colors. I then masked a thin line below and sponged on the Abandoned Coral.
I used Aqua Mist card stock, which matched well with the Distress Oxide Cracked Pistachio ink, and die cut two of the "enjoy" words to add a little dimension and ensure the word "popped up" from the front of the card when closed. I stacked and glued the die cuts. I closed the card and used Ranger Multi Medium Matte adhesive to glue the die cut in place on the inside of the card with the stamped sentiment "your day", also from the Life is Beautiful stamp set.
Thanks so much for taking the time to stop by and check out my entry for the challenge. I hope you're inspired to find a small stamp and give it new life on a project today!


